


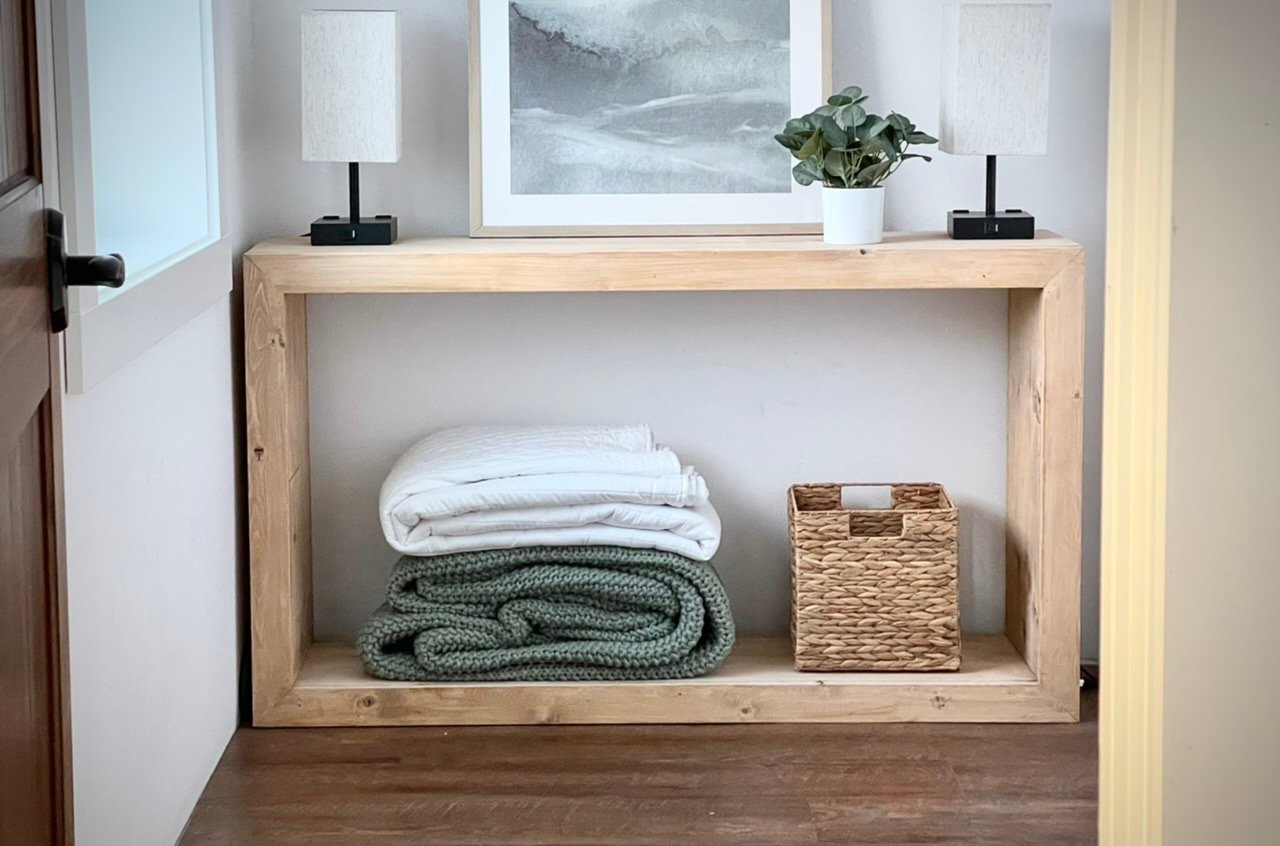
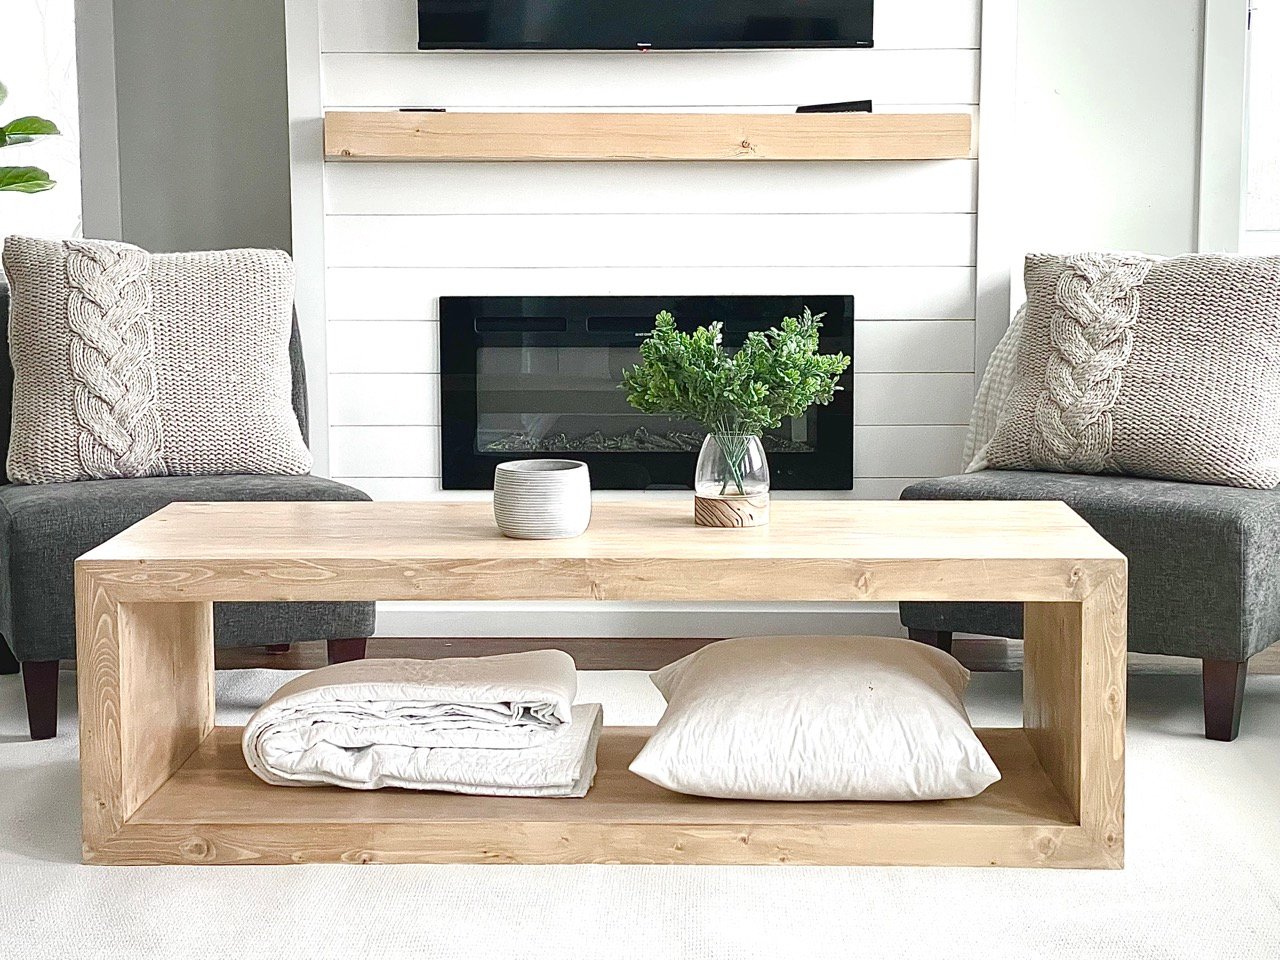
Waterfall Framed 60” Rectangle Espresso Desk

See Moreover: Easy to Assemble Shiplap Fireside Tutorial

Why I Constructed This Espresso Desk
I constructed an identical styled console desk proper right here and the 52″ mannequin proper right here (pictured underneath), and was merely smitten with the sleek nevertheless rustic design, and easily had to assemble the matching espresso desk.
This entire assortment is so beautiful!
Watch the Console Desk Assemble Video
Whereas I did not film the espresso desk assemble, I did film the matching console desk assemble, and the assemble steps are very associated. Please take a second to have a look at that video –
How I Constructed this Espresso Desk
This espresso desk was an issue for me, nevertheless I liked stretching my experience and creating one factor I was great pleased with in the long term. Do not do that enterprise with out the suitable devices and a very good amount of establishing experience. That could be a difficult enterprise.
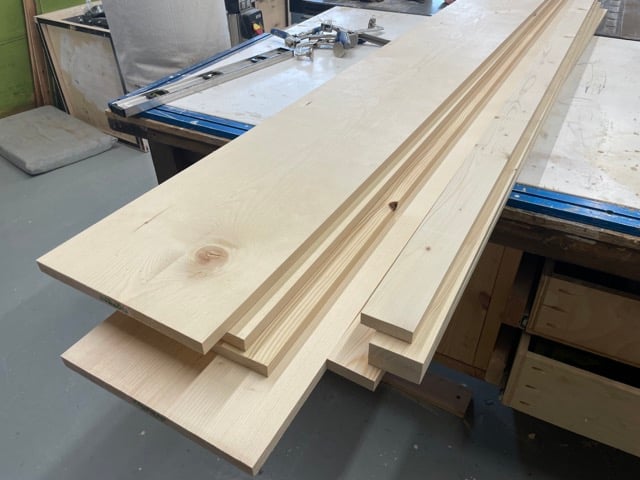
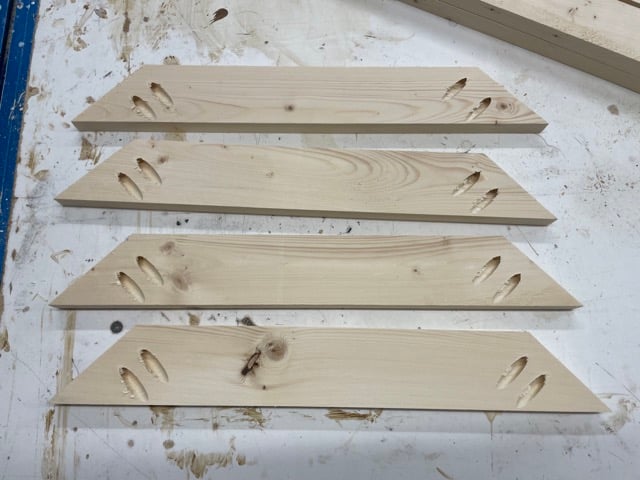
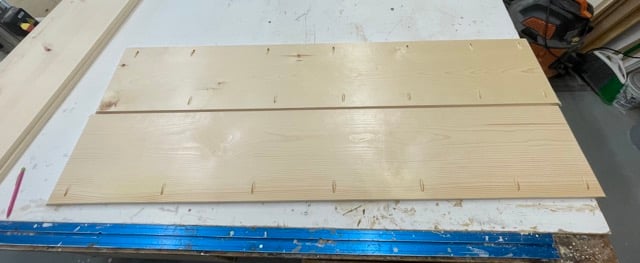
That is the lumber I started with. I did run the boards via the desk observed to create the sq. edges. My 1x12s ended up measuring 11-1/8″ large – merely make sure that the entire 1×12 widths are the similar. The 1x3s I really ripped from 1×6 boards to get that sq. edge.
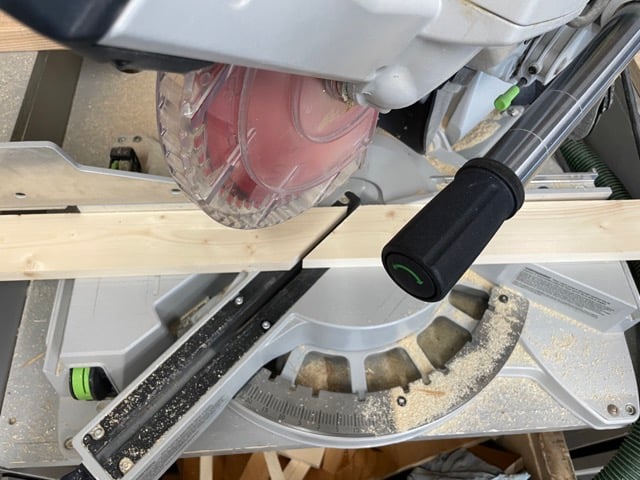
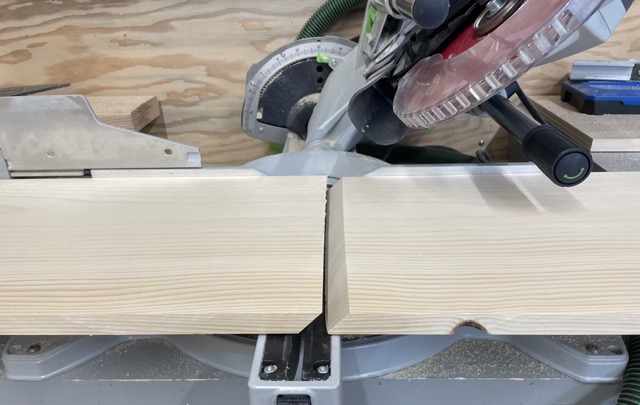
After testing my observed, I scale back the face physique boards first. I am using a ten” sliding compound miter observed. That’s the smallest observed I might advocate, a 12″ would work increased.
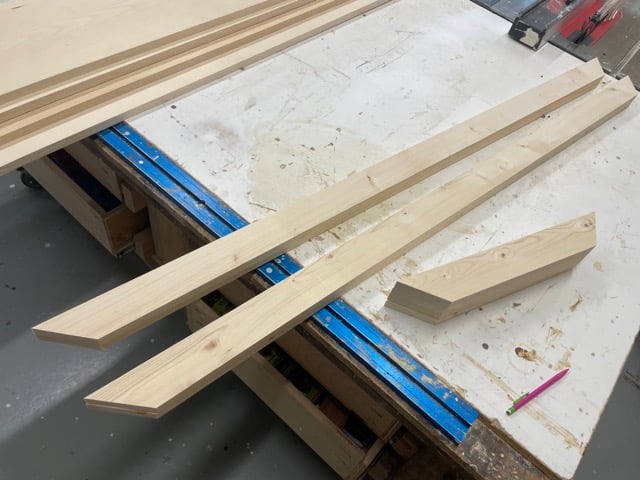
That is the face physique objects scale back.
Then I drilled 3/4″ pocket holes on the ends of the shorter face physique boards. I was cautious to not let any pocket holes current on the side edges of the face physique boards.
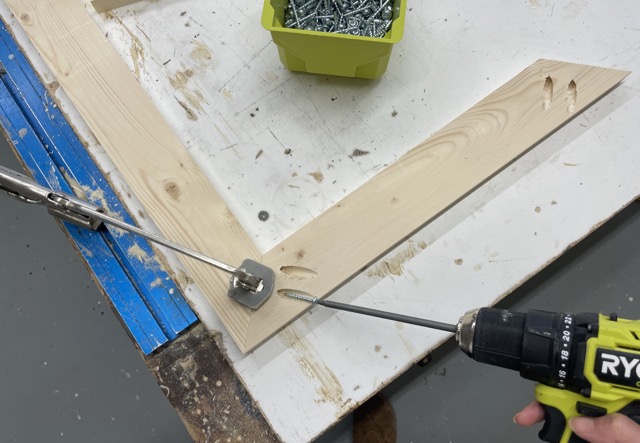
Then I clamped the face physique boards and fasten with 1-1/4″ pocket hole screws.
The two face frames should match EXACTLY.
Now for the 1x12s.
It was really an issue to make the 45 diploma bevel cuts on the observed, the 1x12s wanted to maneuver on me as I was decreasing. Do double look at your cuts and guarantee they’re straight all the easiest way all through.
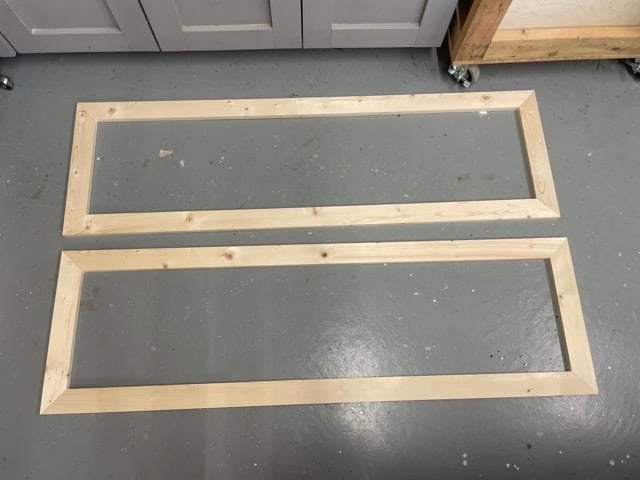
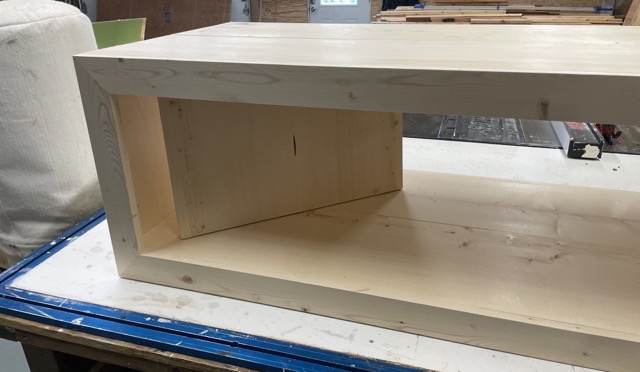
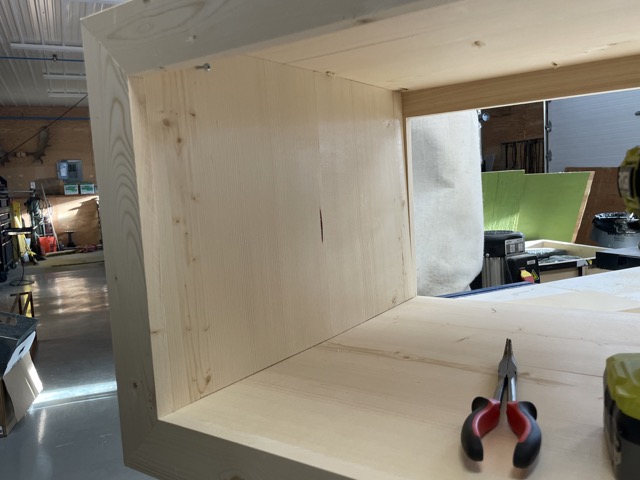
That is the two excessive objects. I drilled pocket holes to attach the two objects collectively, and as well as pocket holes to connect with the face frames.
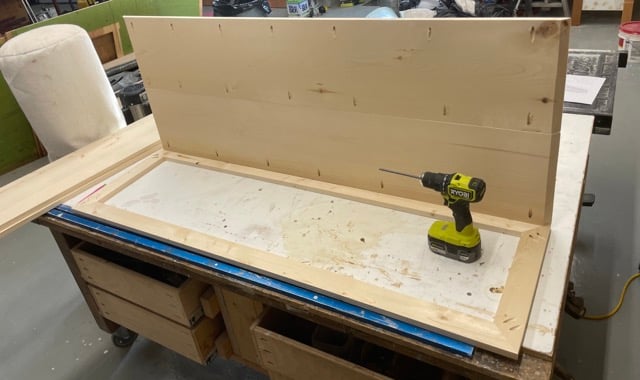
After turning into a member of the two 1×12 objects collectively, I hooked as much as one in all many face frames.
Then I repeated these steps for the two side panels.
Then I join the second face physique.

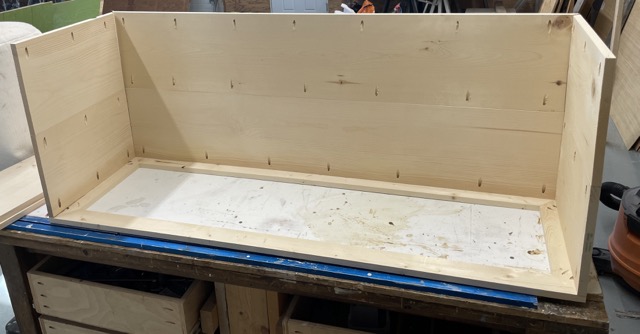
For the corners, I nailed with 1-1/4″ brad nails.
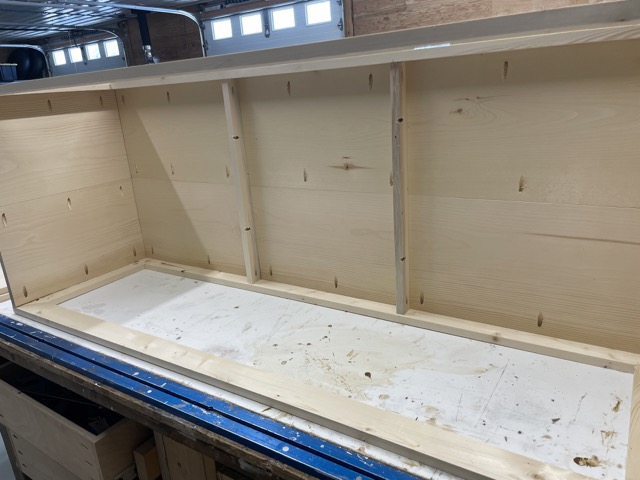
On the underside of the very best (and later the underside shelf) I added the 1×2 helps to help help the center of the espresso desk.

Then I scale back the underside objects, join collectively after which match inside the two face frames and fasten to the espresso desk.
The inside objects are 1x12s pocket holed collectively and set in place.
I needed to make use of a screw to help me pull the panel once more in place as soon as I used to be setting it (see the screw on the excessive left?). Then later I eradicated the screw.
I nailed the inside panels on with 1-1/4″ brad nails.
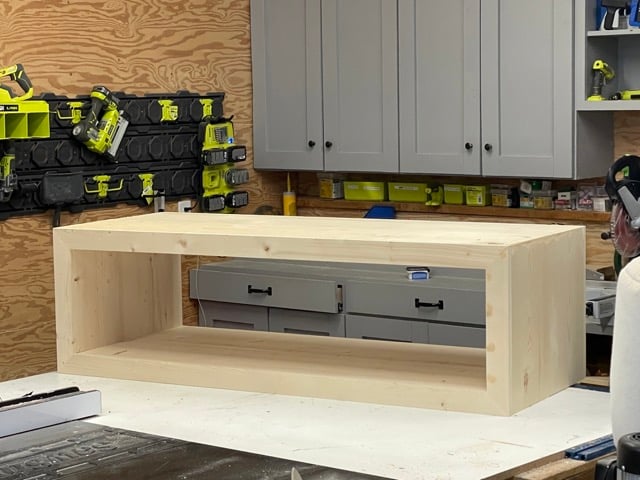
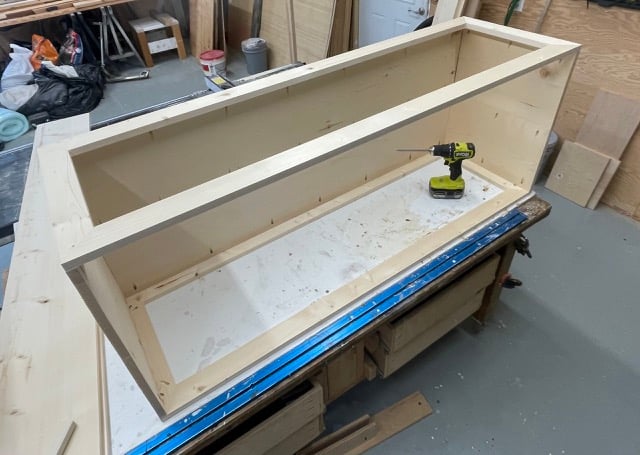
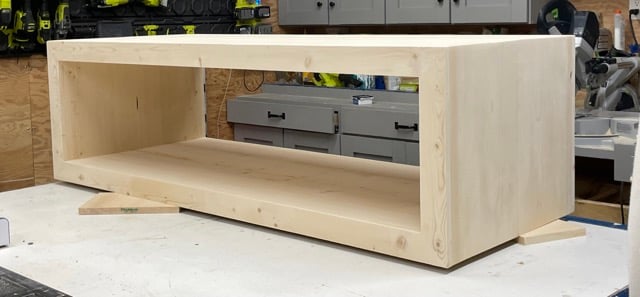
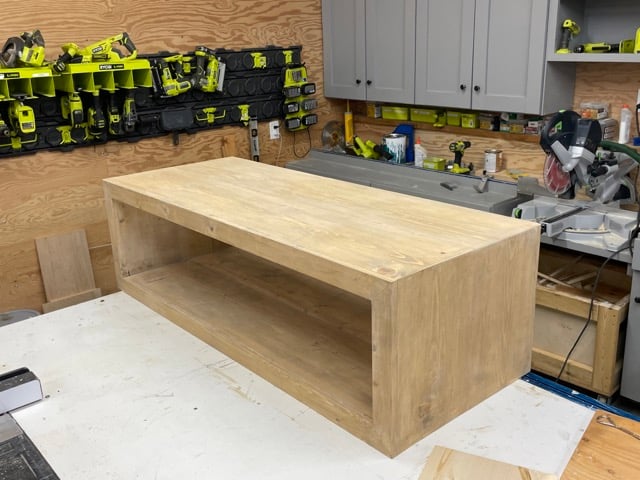
Growth is accomplished!
This took about 3 hours so far.
I stuffed the few nail holes with picket filler. I moreover stuffed the corners that ended up having small gaps.
Then I sanded with 120 grit sandpaper inside the course of the picket grain.
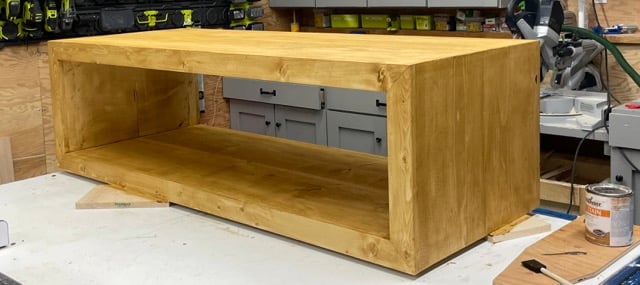
I stained your full enterprise with “golden oak” by Varathane. It was not correct…
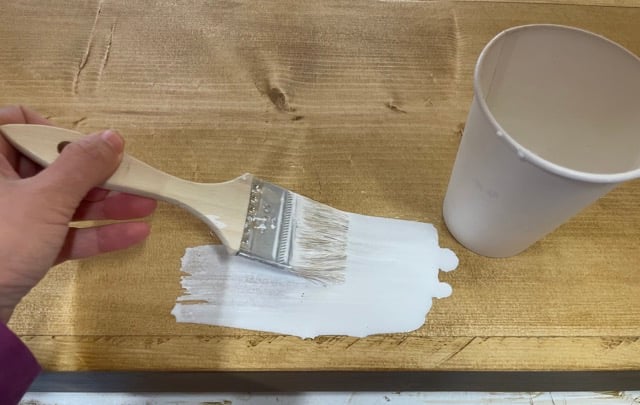
So I added a watered down white paint layer,
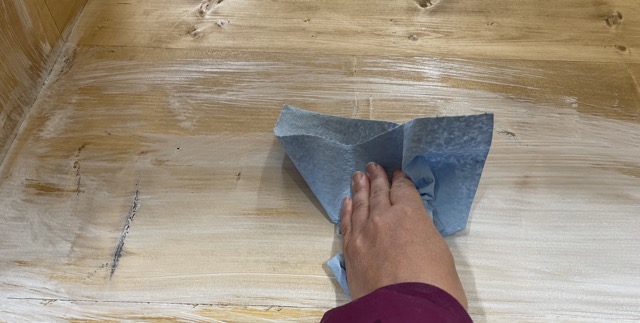
Wiping it in and off in a extremely light layer. So so much higher!
To protect the top and make it wipe clear, I added a layer of clear Polyurethane.
This espresso desk was not easy to assemble, but it surely certainly was value it!! I ended up spending about 8 hours on it and $150 in lumber. It is lovely, and I’m very proud that I was ready to deal with such an superior enterprise.
Free Plans to Assemble This Espresso Desk
That is the free plans to assemble this espresso desk. Please ship us in {a photograph} within the occasion you assemble, we love seeing your work!
")
![Espresso Desk [Modern Farmhouse Collection]](https://i2.wp.com/www.ana-white.com/sites/default/files/inline-images/modern%20farmhouse%20coffee%20table014.jpg?w=1200&resize=1200,0&ssl=1 "Espresso Desk [Modern Farmhouse Collection]")
