


BEST DIY Storage Cupboards (Hooked as much as Partitions)
Would you like additional storage in your storage, basement, or utility room? You understand, to put all these totes and tenting gear away?
You found it – our most favorite utility shelving plan – that has been constructed 1000’s of cases. This one anyone can assemble with merely a number of elementary vitality devices and 2x4s and some plywood.
")
Merely 2x4s and plywood. Nothing explicit there.
How this humble storage shelf is explicit is in HOW it is made.
It’ll change your life. Severely. It’s already modified mine.
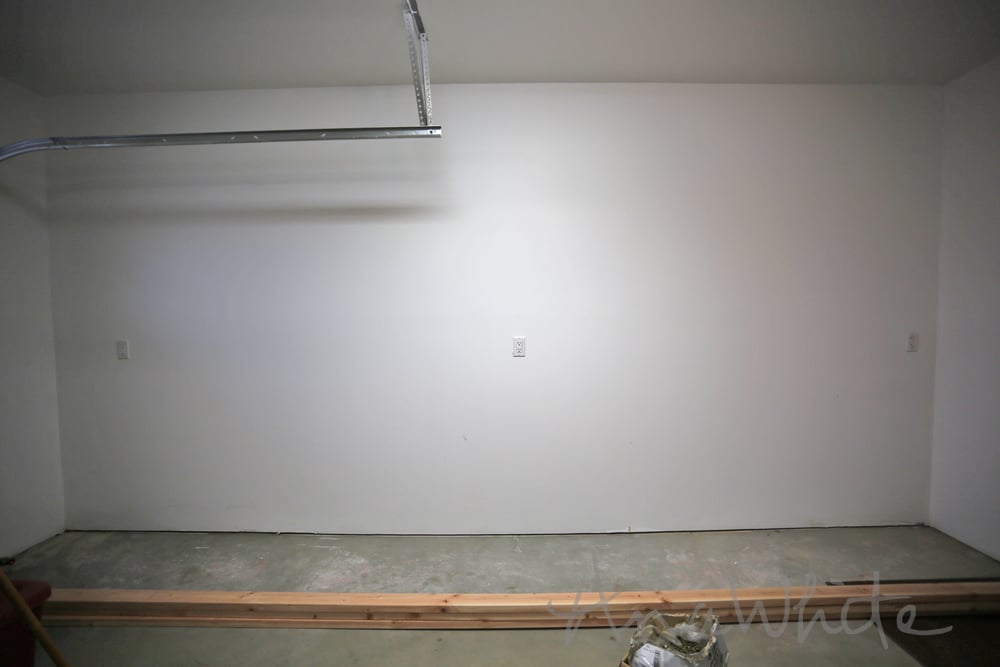
So that you simply start alongside along with your wall. It must be a wall you possibly can screw into studs or in another case anchor in to the wall. When you shouldn’t have that type of wall, maybe study these plans out.
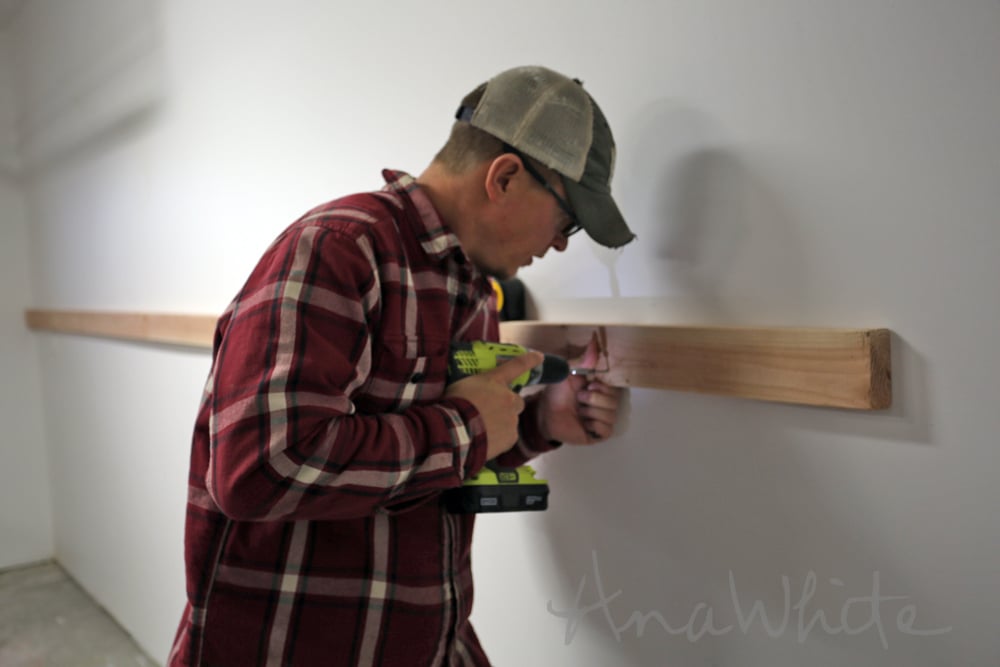
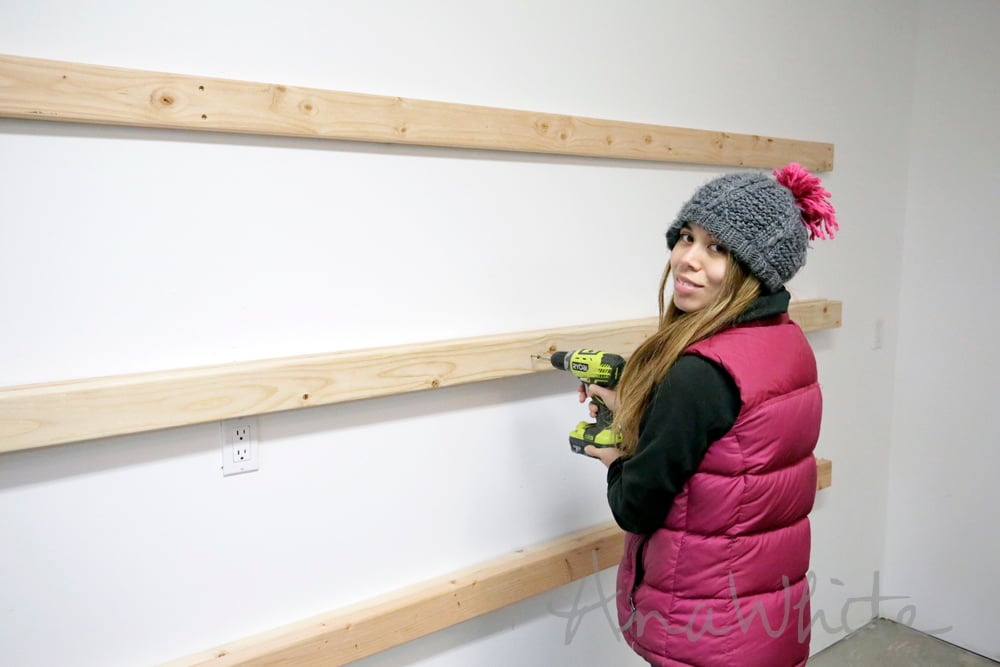
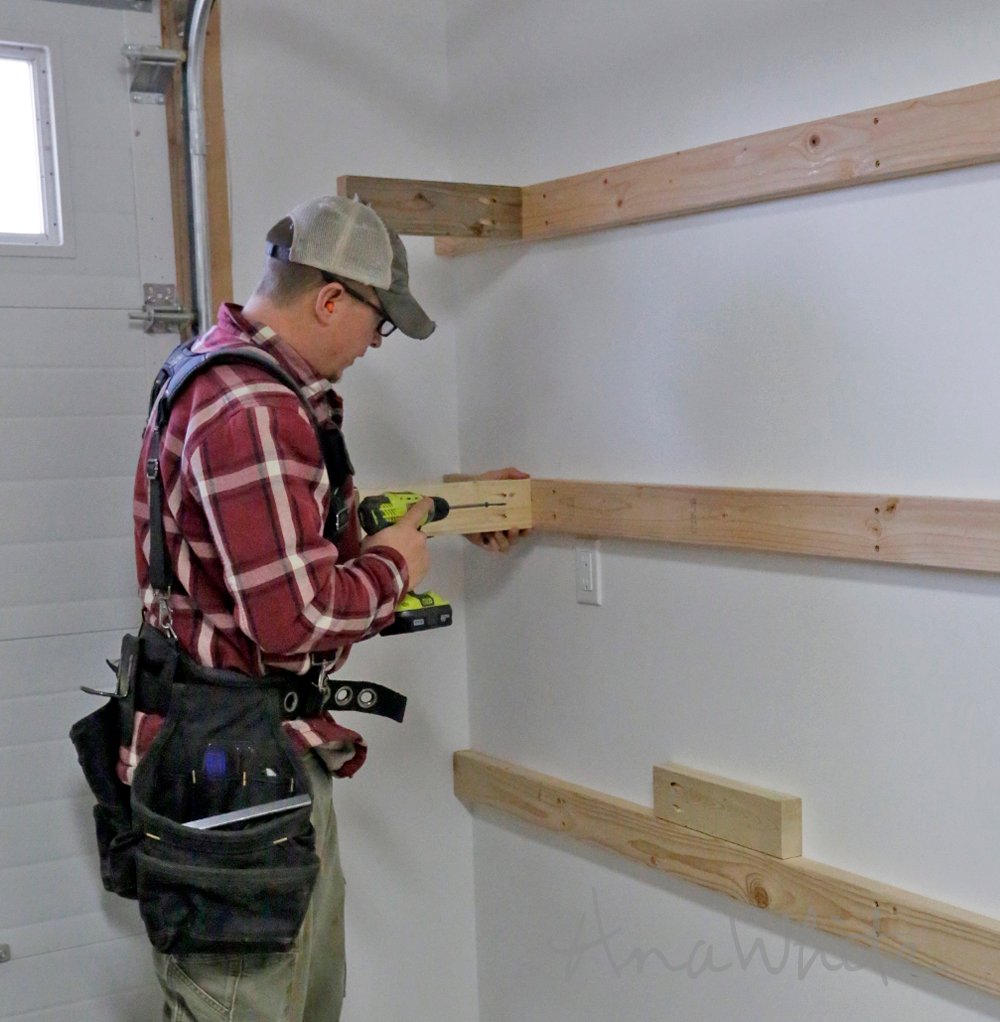
Mark out all the studs inside the wall and repair a 2×4 inside the desired shelving measurement to the studs inside the wall, wherever you need a shelf.
Yep, merely screw a 2×4 to the wall wherever you need a shelf, however prolonged.
You might also piece 2x4s (as an illustration use two 8 foot prolonged 2x4s as a substitute of a 16 footer) – merely make sure you adequately connect with studs in wall.
Use 3″ or longer screws (counting on wall growth). Use a level to make sure you join the 2×4 to the wall diploma. I extraordinarily advocate self tapping picket screws to make driving screws less complicated.
TIP: Take into consideration making your cupboards 8, 12, 16 or 20 toes prolonged to optimize plywood and picket use.
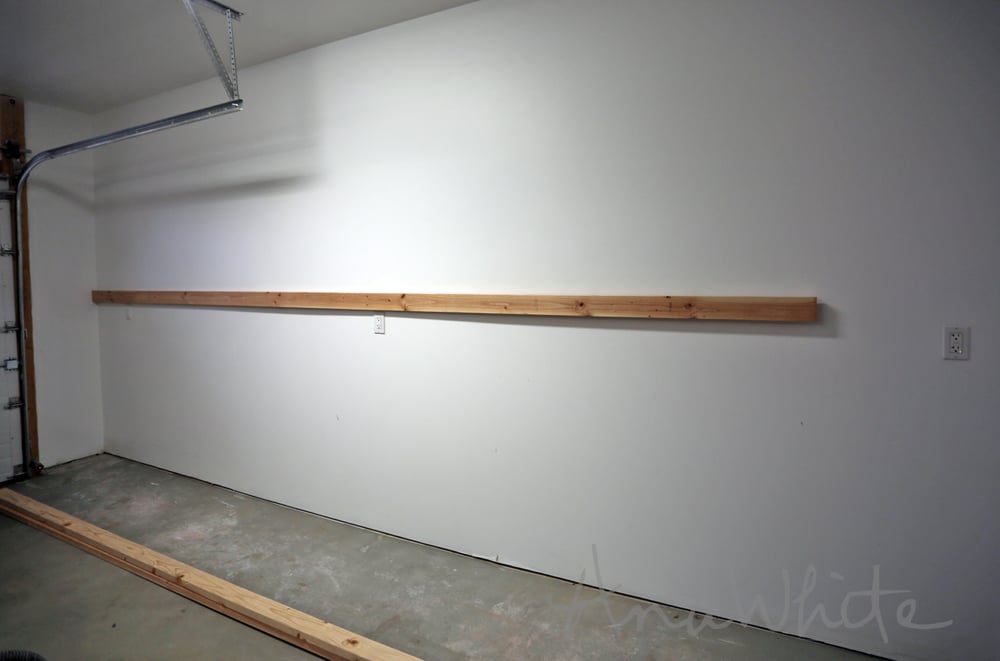
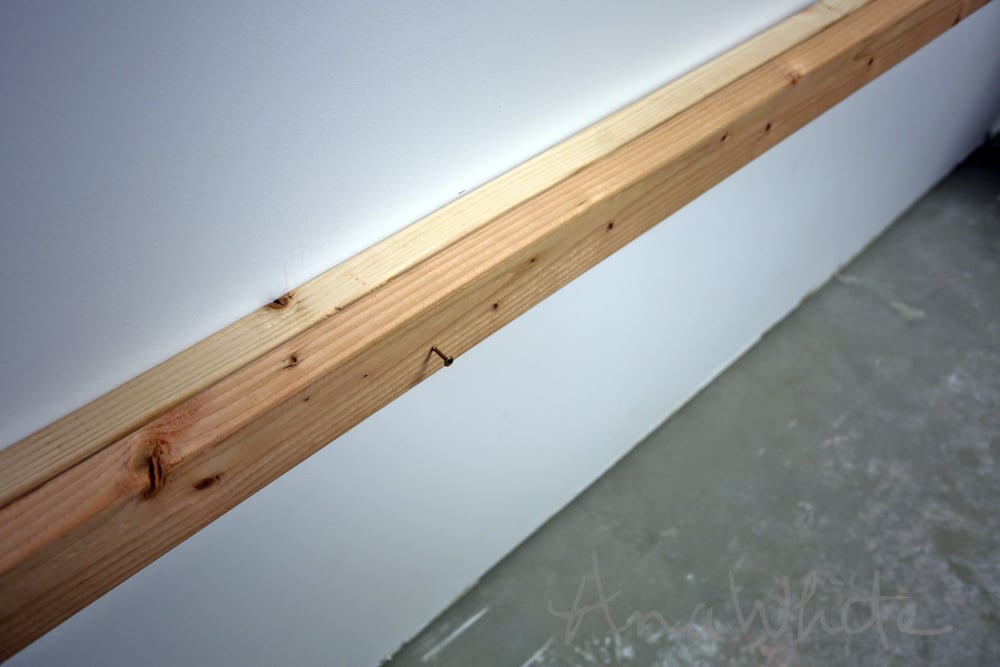
There’s the first one up.
That isn’t onerous, correct?
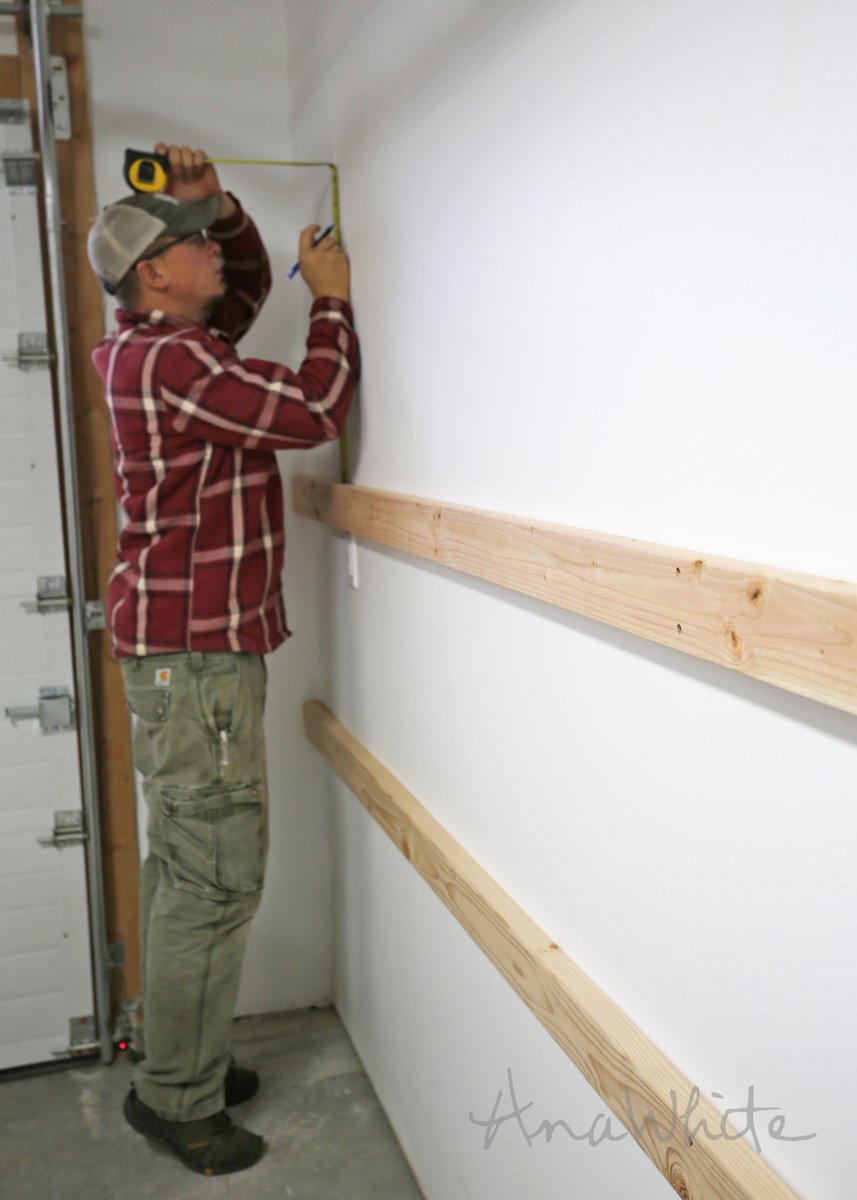
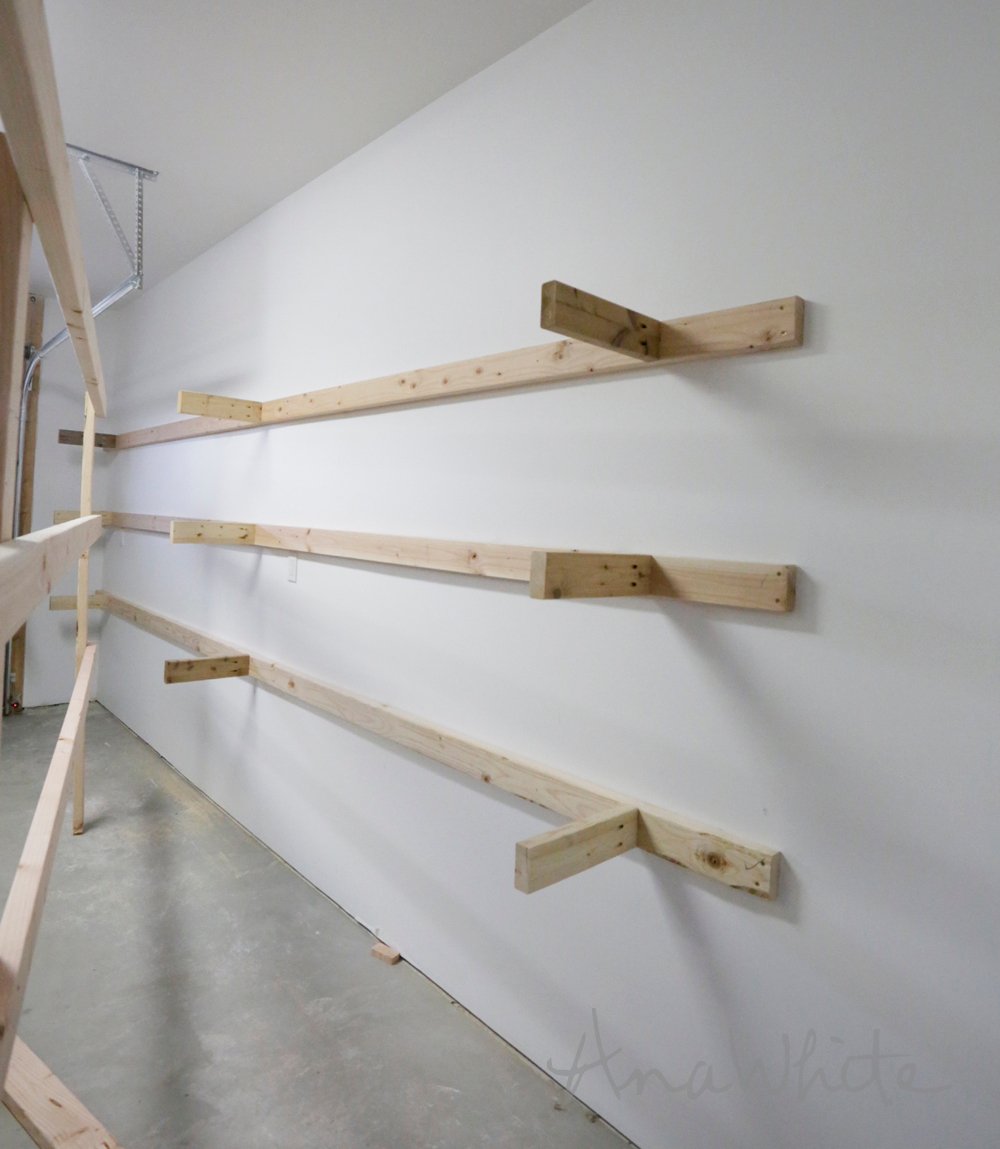
After you will have the first one up, you presumably can merely measure off of it to attach your remaining shelf boards.
Might I like to recommend figuring shelf heights to swimsuit totes or irrespective of it is potential you will be storing in these cupboards?
TIP: You presumably can decrease two scrap picket 2x4s and makes use of as spacers to hunt out the height between the 2×4 shelf boards.
Okay that is the place it is going to get superior.
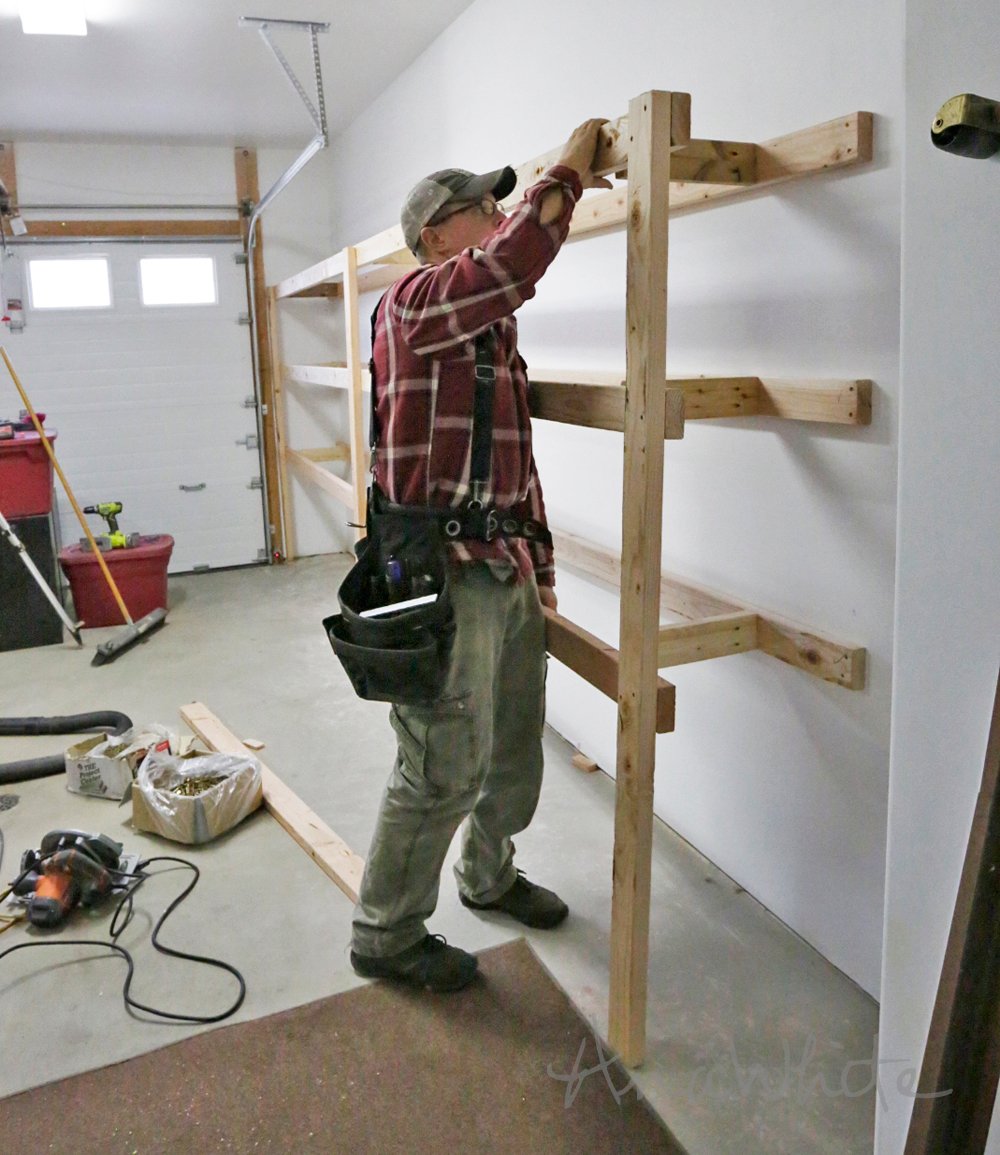
Subsequent, screw a second 2×4 to the first 2×4, within the equivalent measurement.
Yep, merely screw it correct on prime.
Don’t screw the screw all one of the best ways in, and solely put two screws in each board.
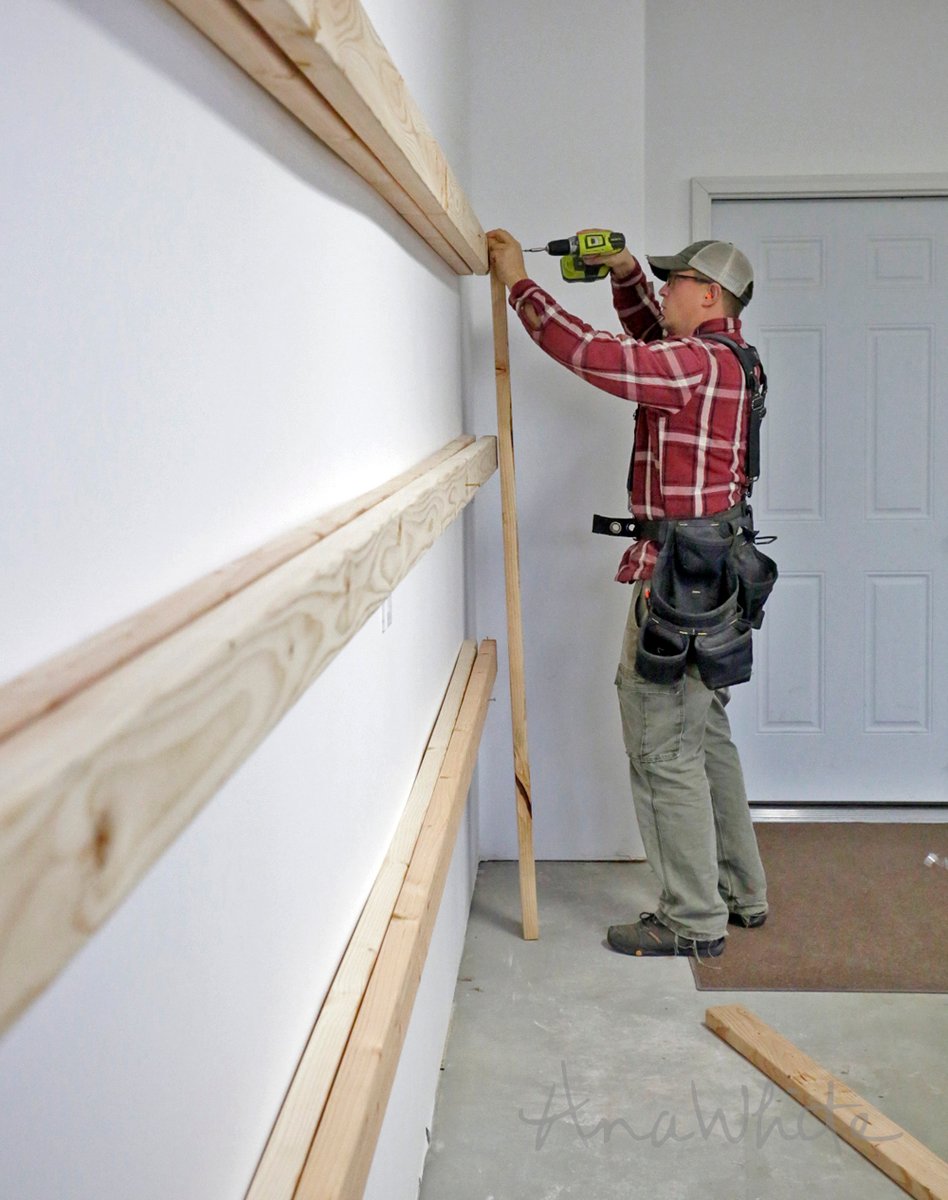
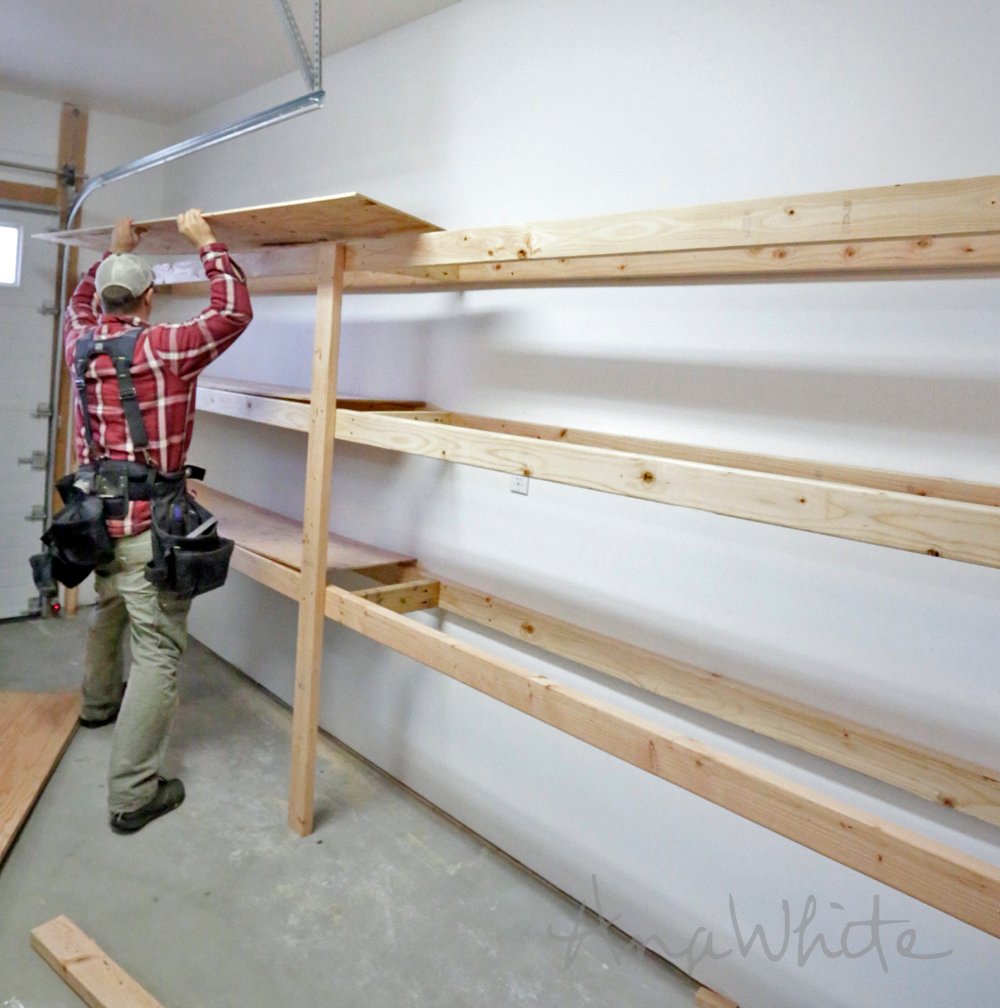
Subsequent, decrease 2x4s legs to the height of your prime shelf, and screw to the second 2×4 with 3″ or shorter screws.

It’s possible you’ll need a leg on each end, after which heart legs relying in your span. 2x4s can span about 8 toes, so we added one leg for this 16 foot prolonged shelving unit.
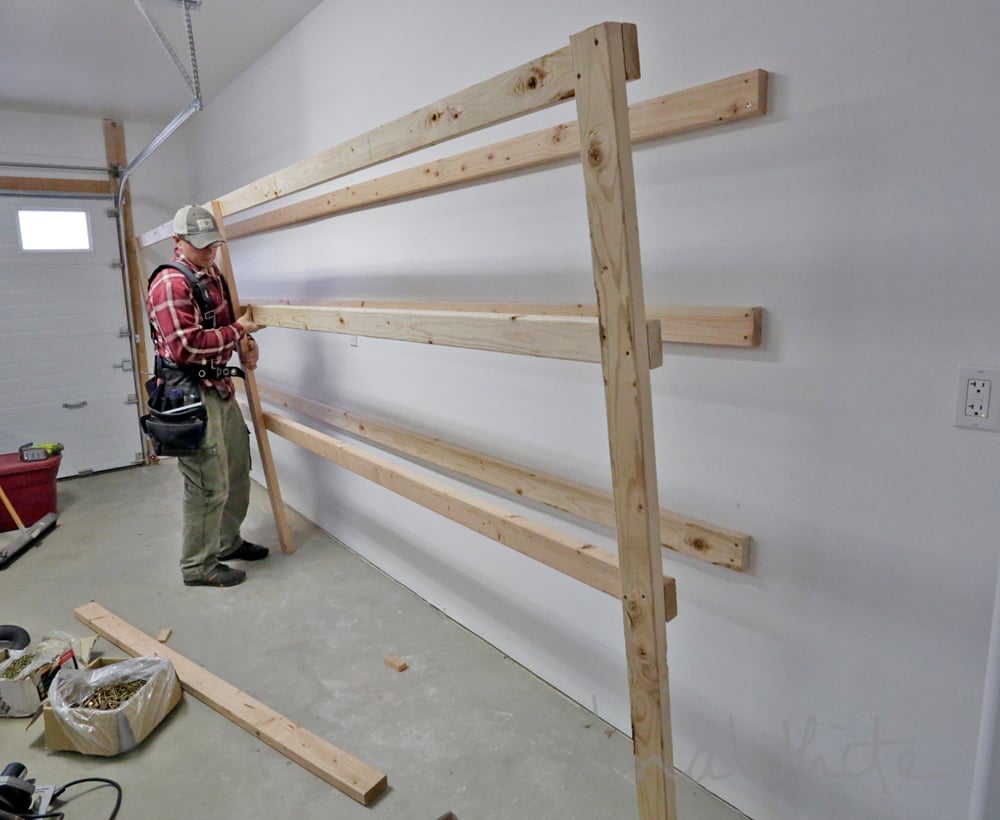
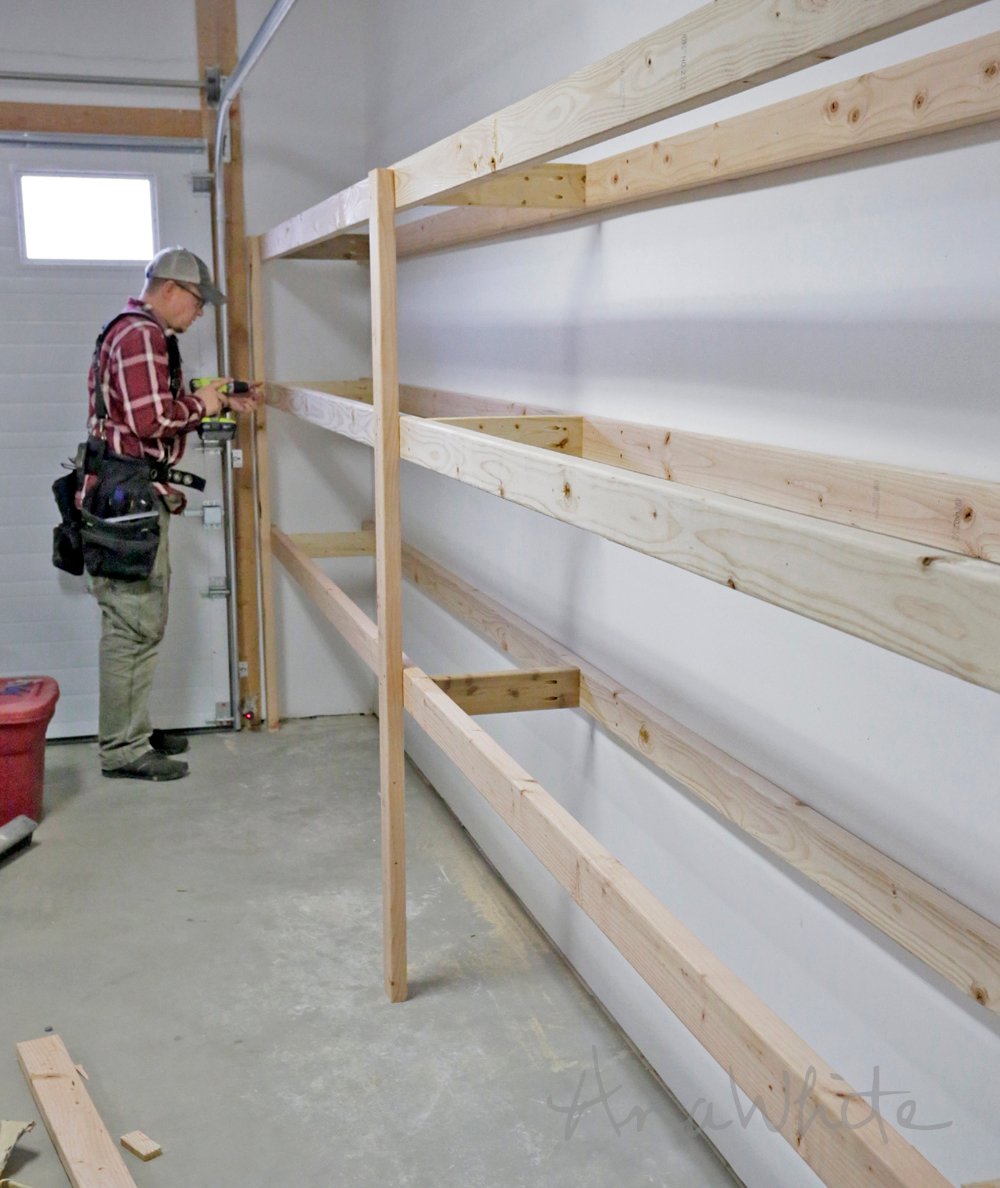
Now unscrew these screws attaching the second 2x4s to the first ones, and take away all the doorway of the shelving unit.
This isn’t essential, as a result of the plywood on prime will tie the second leg set to the first, nonetheless it would most likely help with assembly. We decrease 2x4s to 3″ decrease than our plywood shelving gadgets, Kreg Jigged pocket holes in a single aspect, and linked to the first shelf boards. When you shouldn’t have a Kreg Jig, get one, nonetheless until then, you presumably can drive screws at an angle into that first row of 2×4 boards.
TIP: To optimize plywood use, plan your shelving to be 12″, 16″ or 24″ in width. You then presumably can rip your plywood into each 4 12″ huge strips, three 16″ huge strips or two 24″ huge strips with no waste. This suggests the 2×4 cleats may very well be 9″, 13″, or 21″ prolonged, respectively.
We positioned cleats near the middle and ends, and the place we knew we’d have a plywood seam, avoiding areas that may overlap the legs and be onerous to screw into.
Then we merely screwed all the doorway of the shelving once more on,
TIP: In case your floor slopes or is uneven, as most basement and storage flooring do, you presumably can merely shim beneath the legs to diploma out your cupboards. We shimmed with metal washers to convey the picket up a tiny bit from the storage floor, allowing water drainage throughout the legs, hopefully stopping the underside of the 2×4 from every rotting out (and mitigating the need to make use of dealt with lumber).
We ripped plywood into 15-3/4″ strips so it is going to match merely contained within the cupboards and likewise accounts for the observed blade width, and layed the plywood on the shelving. We use 1/2″ plywood for the 16″ width shelving – possibly go as a lot as 5/8″ or 3/4″ do you have to do 24″ huge shelving or have notably heavy tons of destined for these cupboards.
TIP: When you shouldn’t have a desk observed or a truck to haul full sheets of plywood, merely have your personal house enchancment retailer rip the plywood for you – accuracy is not going to be vital on this endeavor.
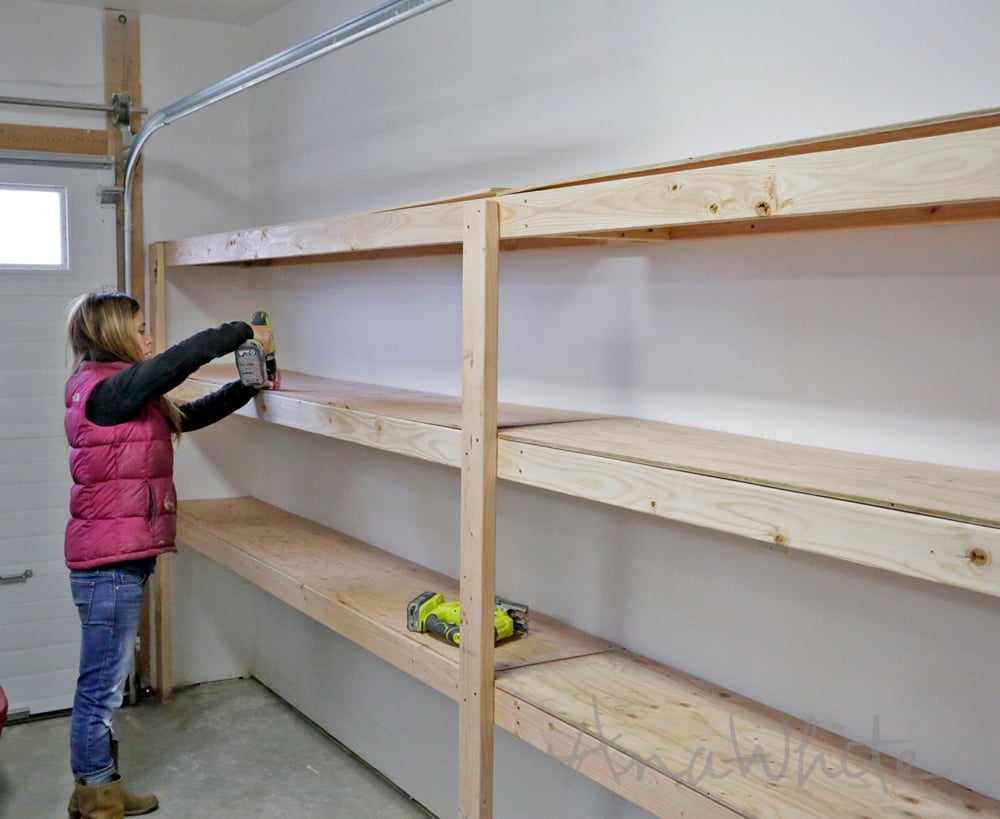
Then we merely screwed all the plywood down. I consider we used 1-1/4″ screws (was burning up irrespective of we had leftover inside the retailer). You’ll not need a ton of screws, merely enough to keep up the two 2x4s collectively and the shelving plywood down.
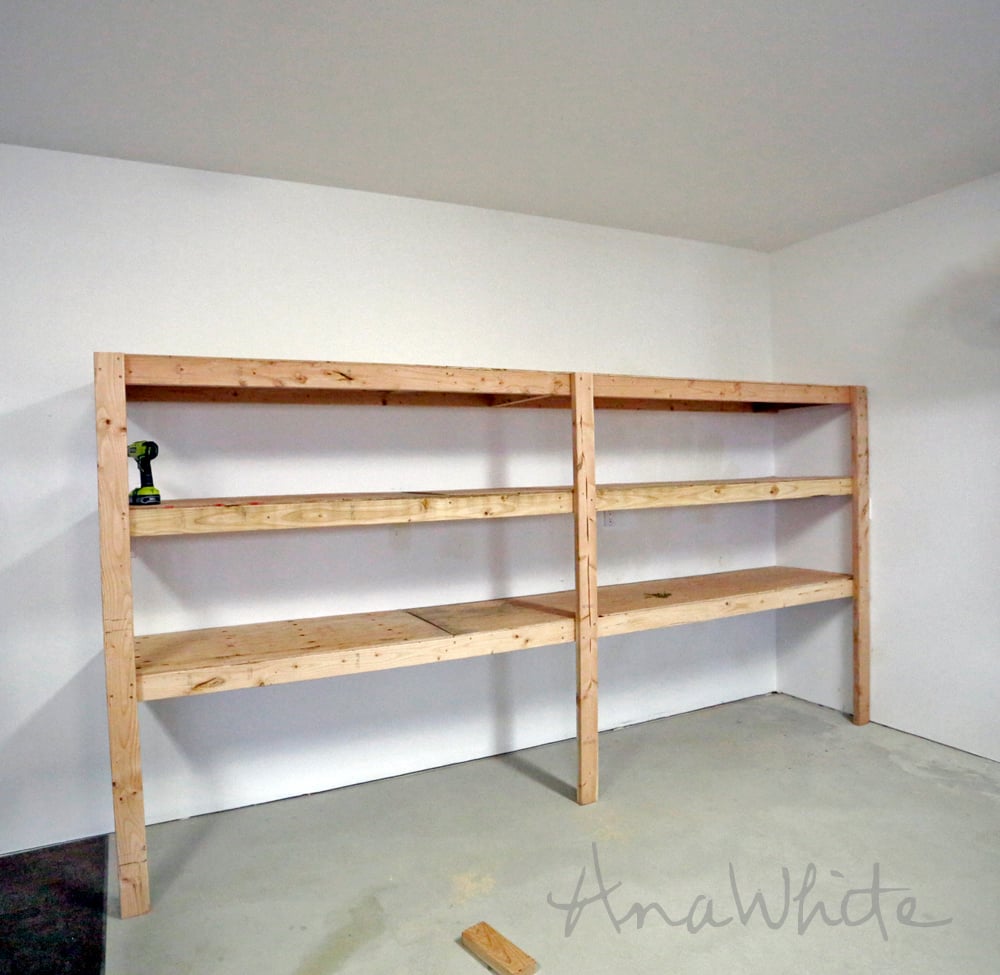
So fast and easy, we ended up making three utterly totally different shelving fashions – and have gone on to assemble quite a few additional variations of this shelving.
UPGRADED IT: Add Doorways
We love how one amongst our readers CarolinaL used these plans nonetheless added doorways to enhance her storage cupboards.
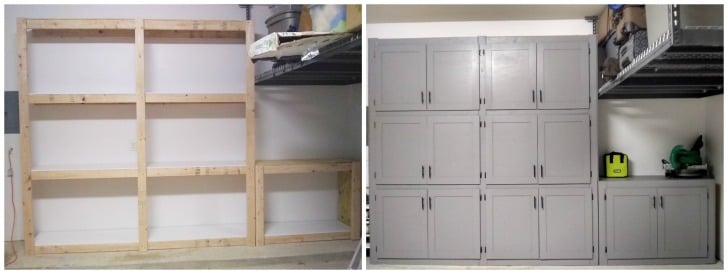
Further photos and particulars may be discovered proper right here.
VIDEO TUTORIAL: DIY Storage Cupboards
You might also do that quick video we put collectively on this shelving unit.
PLANS: DIY Storage Cupboards
In your consolation, we moreover put collectively plans for shelving 8 toes prolonged x 6 toes tall with three cupboards, that may help you get started.


